Jamf Protect Integration with Jamf Pro
To integrate Jamf Pro with you Jamf Protect tenant, you must do the following:
-
Create an API Client in Jamf Protect—Create an API Client to generate configuration and endpoint information required by Jamf Pro.
-
Register your Jamf Protect tenant in Jamf Pro—Register your Jamf Protect tenant to establish a secure connection between Jamf Pro and Jamf Protect.
To learn more about this integration, see the Overview section of this guide.
Creating an API Client in Jamf Protect
Before you can interact with the Jamf Protect API, you must create an API client in Jamf Protect. Creating an API Client generates configuration and endpoint information, such as a client ID and API client password, which are used to register Jamf Protect with Jamf Pro.
Note: You can have up to five API clients in Jamf Protect.
-
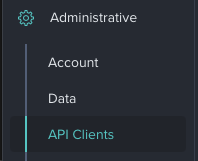
In Jamf Protect, click Administrative > API Clients from the sidebar.

-
Click Create API Client.
-
Enter a name for your API client.
-
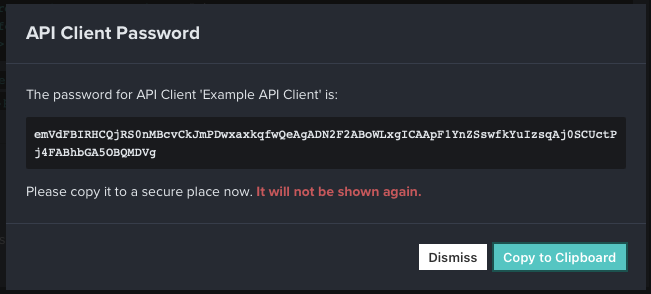
Copy the API client password for later use.
Important: This value will not be displayed again by Jamf Protect.

Your API client configuration and endpoint information will now display.
Registering your Jamf Protect Tenant in Jamf Pro
Registering your Jamf Protect tenant establishes a secure connection between Jamf Pro and Jamf Protect.
Requirements
-
Cloud Connection Services enabled
For instructions, see Cloud Services Connection in the Jamf Pro Administrator's Guide. -
An API Client created from Jamf Protect
Procedure
-
Log in to Jamf Pro.
-
In the top-right corner of the page, click Settings
 .
. -
Click Jamf Applications.
-
Click Jamf Protect
 .
. -
Click Begin Registration.
-
Enter your Jamf Protect API endpoint in the Jamf Protect API URL field.
-
Enter your API Client configuration information in the Client ID and Password fields.
-
Click Register.
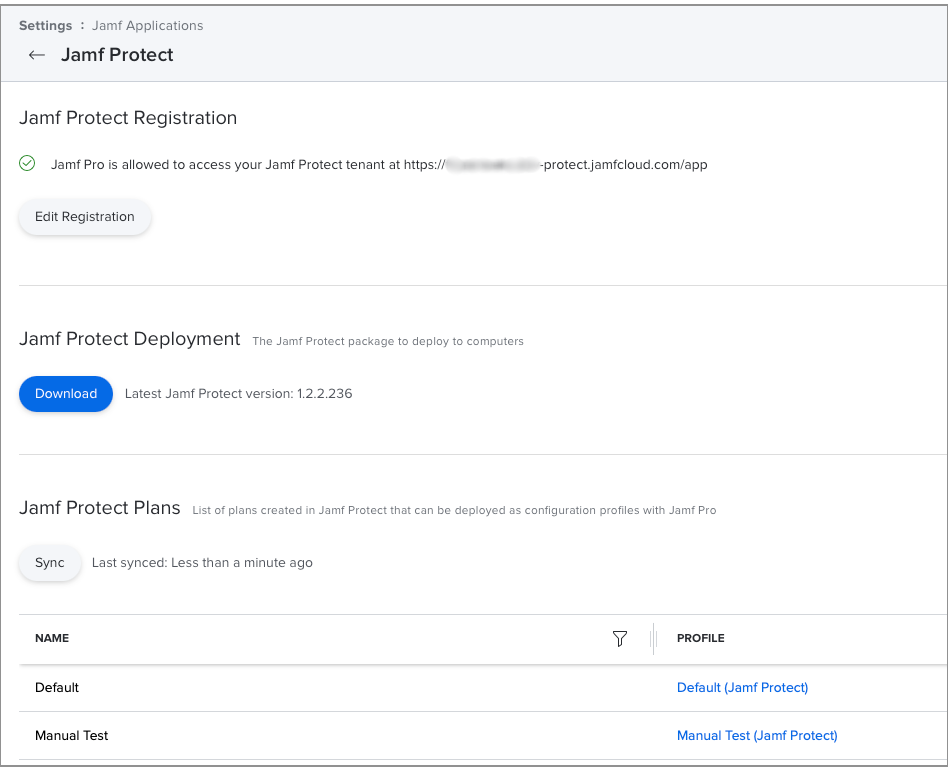
Your Jamf Protect tenant is integrated with your Jamf Pro instance and a package download and list of plans should display.
