Deploying OS X by Imaging Using the JSS v9.66 or Earlier
Deploying OS X by imaging involves the following steps:
-
Prepare to image a main partition.
-
(Optional) Prepare to create or modify a “Recovery HD” partition during imaging.
-
Image computers.
Requirements
To deploy OS X by imaging, you need:
-
The JAMF Software Server (JSS) v8.3 or later
-
A test computer with:
-
Composer
-
A “Recovery HD” partition
-
-
Casper Admin
-
A distribution point
-
A startup disk other than the target drive that has Casper Imaging installed
Some common startup disks used for imaging are USB or FireWire drives, Restore partitions, and NetBoot images.
Step 1: Prepare to Image a Main Partition
-
Build an OS package:
-
On the test computer, install and configure the OS. For complete instructions, see the following Knowledge Base article:
Creating a Minimal Base OS Image -
Open Composer and authenticate locally.
-
In the toolbar, click New
 .
. -
Under the Operating System heading in the sidebar, select Build OS Package.
-
Select the drive you want to package and click Next.
-
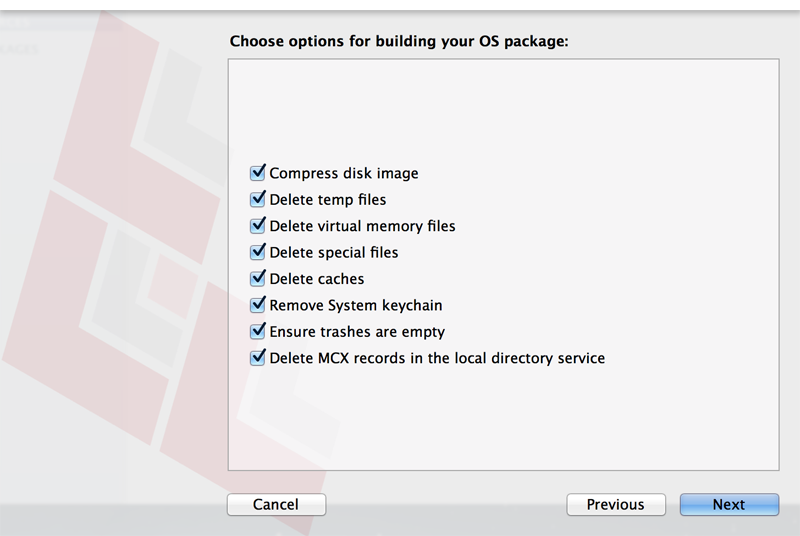
Choose options for removing unnecessary files from the package and click Next.
-
Enter a package name and select a location to save the package, and then click Build.
-
-
Add the OS package to Casper Admin:
-
Open Casper Admin and authenticate to the JSS.
-
Drag the package to the main repository in Casper Admin.
The package is displayed in blue text until you add it to a category.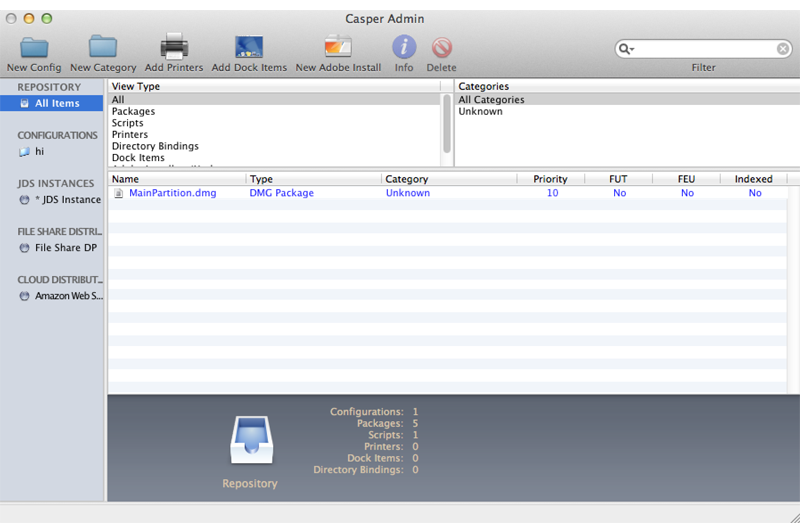
-
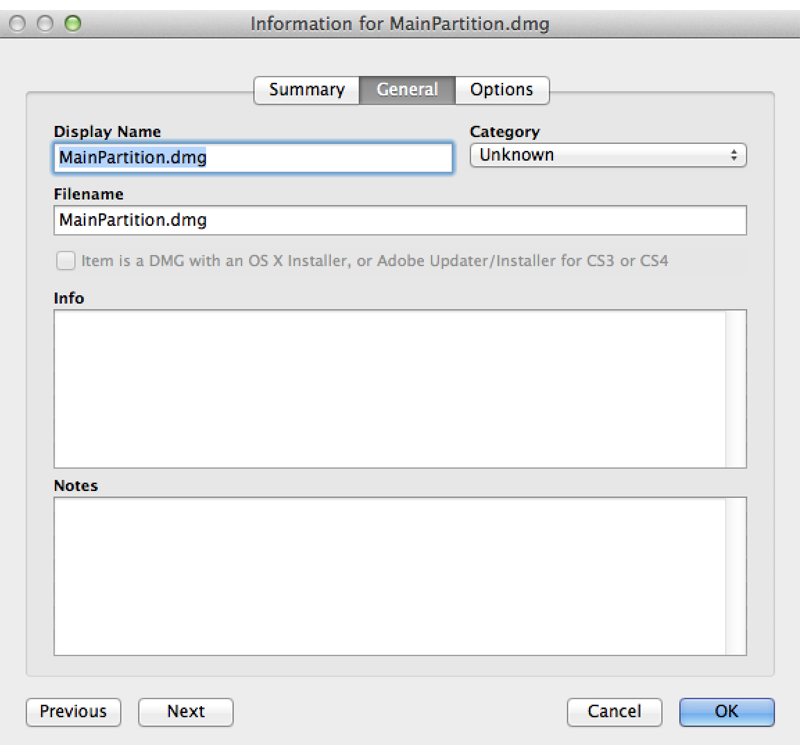
Double-click the package in the main repository.
-
Click the General tab and choose a category for the package.
-
Click the Options tab and choose a priority for the package.
The recommended priority is “1”.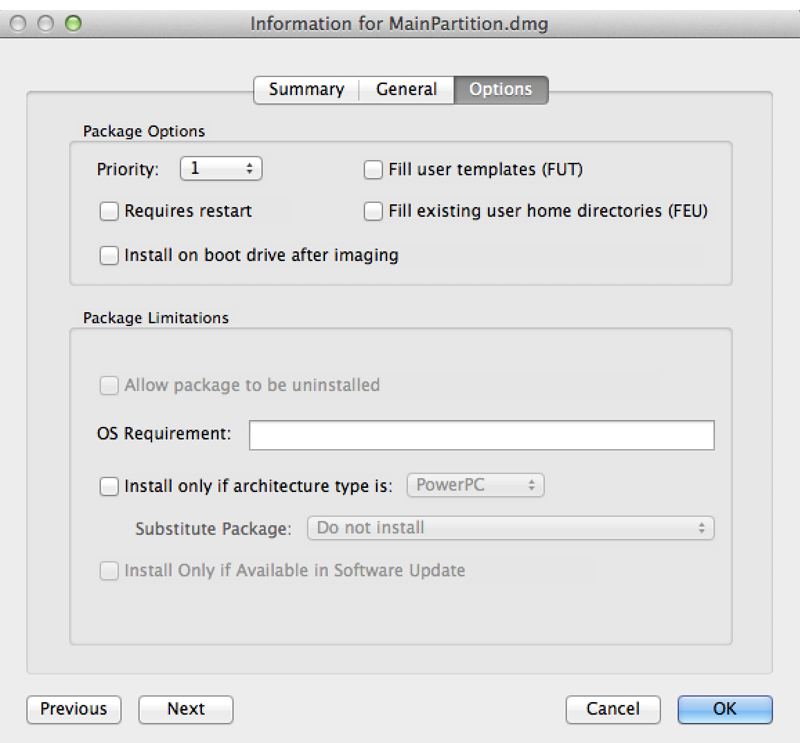
-
Click OK.
-
-
Create a configuration:
-
Open Casper Admin and authenticate to the JSS.
-
Click New Config
 .
. -
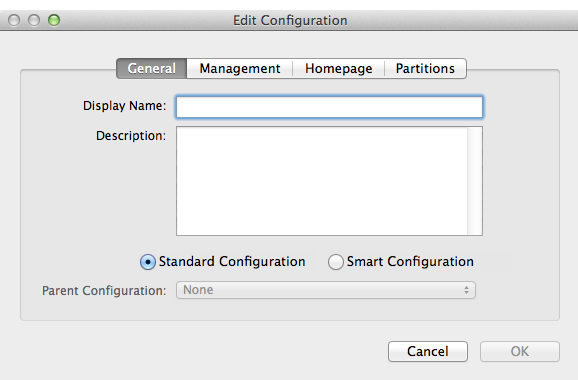
On the General pane, enter a display name for the configuration.
-
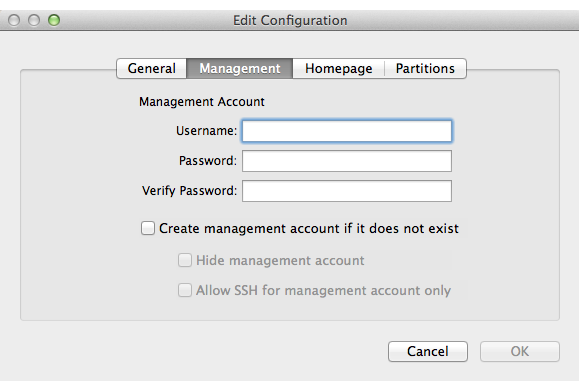
Click the Management tab and enter credentials for a local administrator account that you want to use for management.
-
Click OK.
The configuration is added to the list of configurations in the sidebar. -
Drag the OS package from the main repository to the configuration that you just created.
-
Step 2: (Optional) Prepare to Create or Modify a “Recovery HD” Partition During Imaging
As of OS X v10.7, newly purchased Macs come with a “Recovery HD” partition that can be used for recovery tasks, such as repairing disks or reinstalling OS X. Use the instructions in this section if you need to create or modify a “Recovery HD” partition during the imaging process.
Important: It is recommended that the OS X version of the “Recovery HD” partition matches the OS X version of the main partition.
-
Build an OS package:
-
On the test computer, mount the “Recovery HD” partition by executing:
sudo diskutil mount disk0s3
-
Open Composer and authenticate locally.
-
In the toolbar, click New
. -
Under the Operating System heading in the sidebar, select Build OS Package.
-
Select the drive you want to package and click Next.
-
Choose options for removing unnecessary files from the package and click Next.
-
Enter a package name and select a location to save the package, and then click Build.
-
-
Create a script to hide the “Recovery HD” partition:
-
Create a new file in a text editor.
-
Type the following text:
RecoveryHDName="Recovery HD"
RecoveryHDID=`/usr/sbin/diskutil list | grep disk0 | grep "$RecoveryHDName" | awk 'END { print $NF }'`

/usr/sbin/diskutil unmount /dev/"$RecoveryHDID"
/usr/sbin/asr adjust -target /dev/"$RecoveryHDID" -settype Apple_Boot -
Save the file with a .sh file extension. For example, “HideRecoveryHD.sh”.
-
-
Add the OS package and script to Casper Admin:
-
Open Casper Admin and authenticate to the JSS.
-
Drag the package and script to the main repository in Casper Admin.
The package and script are displayed in blue text until you add them to a category.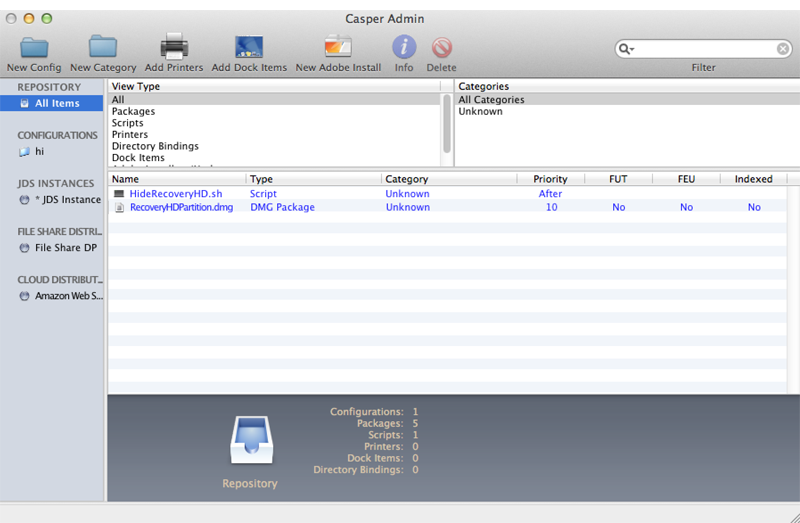
-
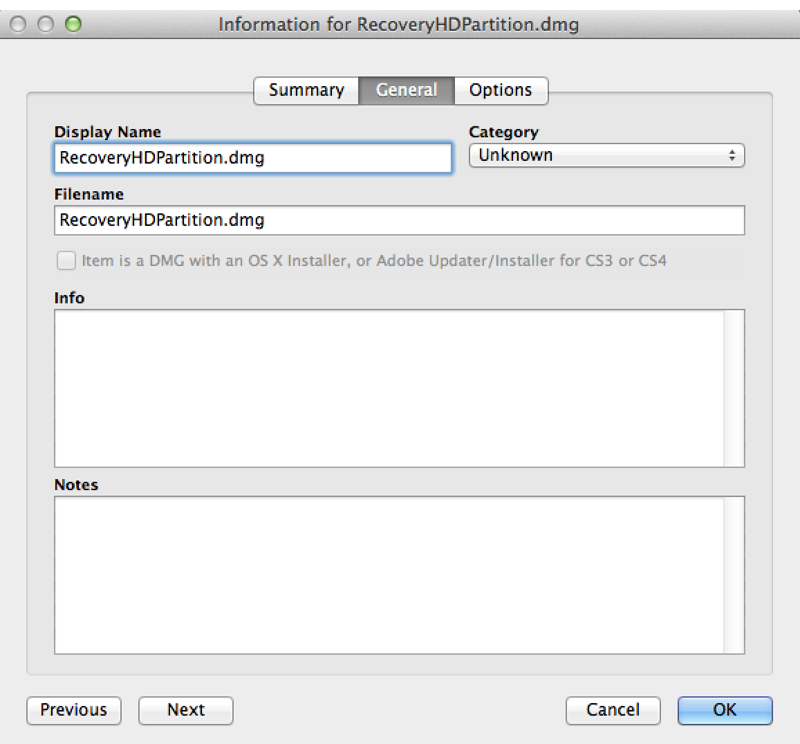
Double-click the package in the main repository.
-
Click the General tab and choose a category for the package.
-
Click the Options tab and choose a priority for the package.
The recommended priority is “1”.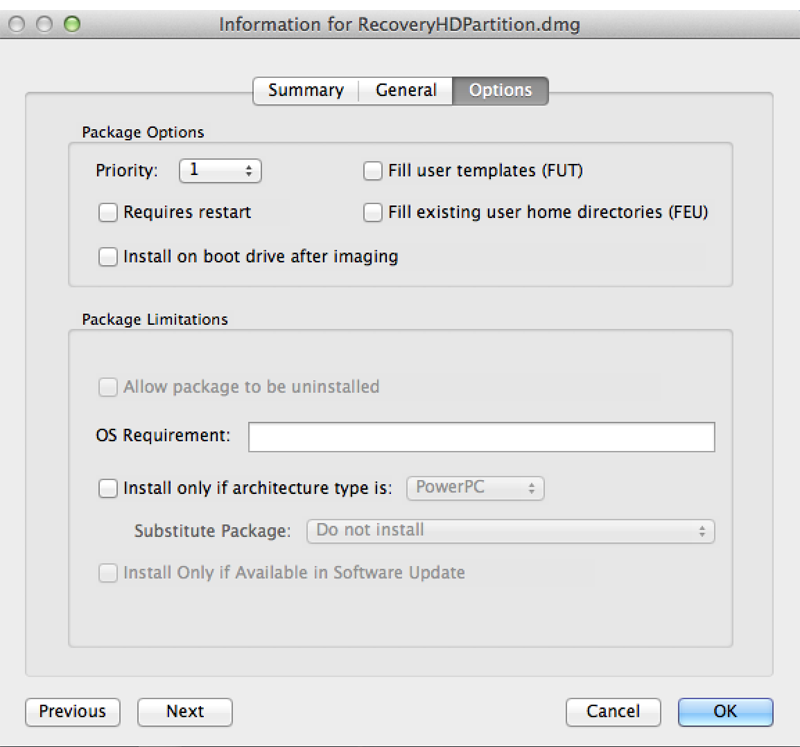
-
Click OK.
-
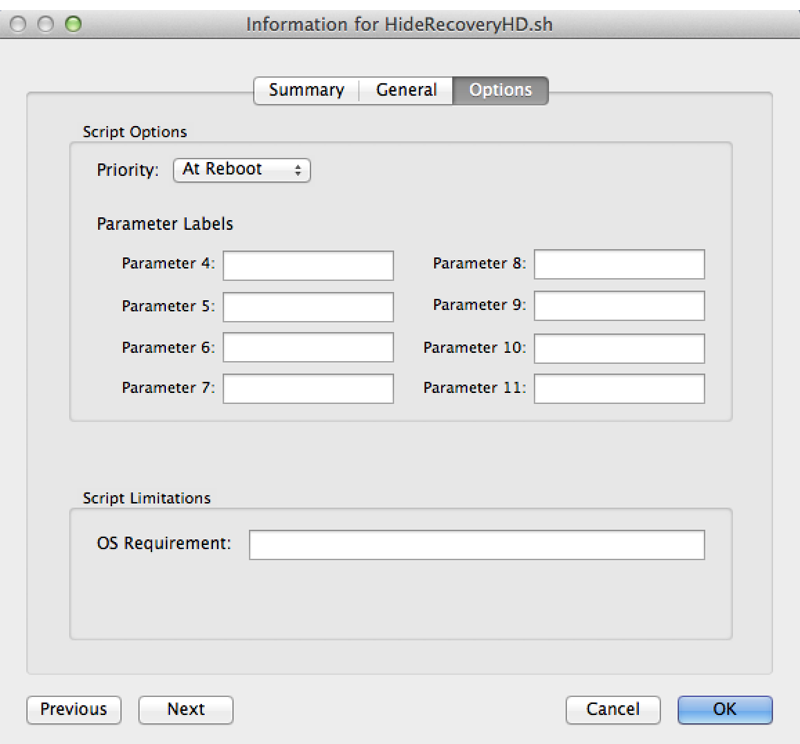
Double-click the script in the main repository.
-
Click the Options tab and verify that the priority is set to “At Reboot”.
-
Click OK.
-
-
Drag the script from the main repository to the configuration you created for the main partition.
-
Create a configuration for the “Recovery HD” partition:
-
Open Casper Admin and authenticate to the JSS.
-
Click New Config
. -
On the General pane, enter a display name for the configuration. For example, “Recovery HD”.

-
Click the Management tab and enter credentials for a local administrator account that you want to use for management.
-
Click OK.
The configuration is added to the list of configurations in the sidebar. -
Drag the “Recovery HD” OS package from the main repository to the configuration that you just created.
-
-
Add a “Recovery HD” partition to the configuration you created in “Step 1: Preparing to Image a Main Partition”:
-
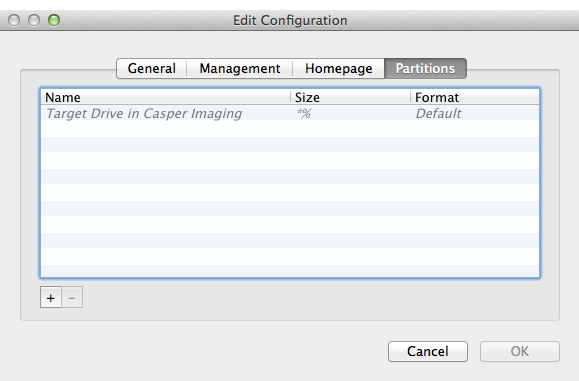
In the list of configurations in the sidebar, double-click the configuration.
-
Click the Partitions tab.
-
Click Add (+).
-
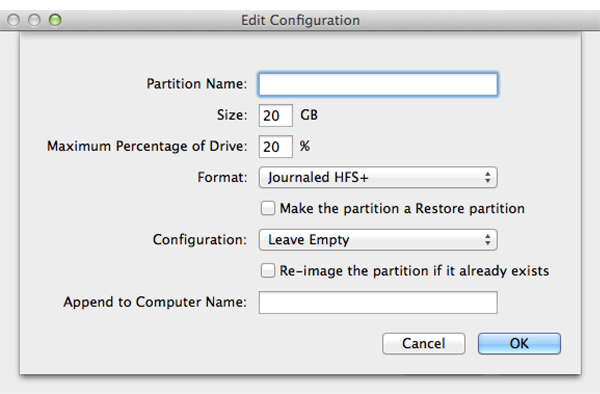
Type “Recovery HD” in the Partition Name field.
-
Type “1” in the Size field.
-
Type “99” in the Maximum Percentage of Drive field.
-
From the Configuration pop-up menu, choose the configuration you just created.
-
If the target computers already have a “Recovery HD” partition and do not have other additional partitions, select the Re-image the partition if it already exists checkbox.
-
Note: If the target computers already have a “Recovery HD” partition and other additional partitions, you must remove the “Recovery HD” partition so that it can be recreated during imaging.
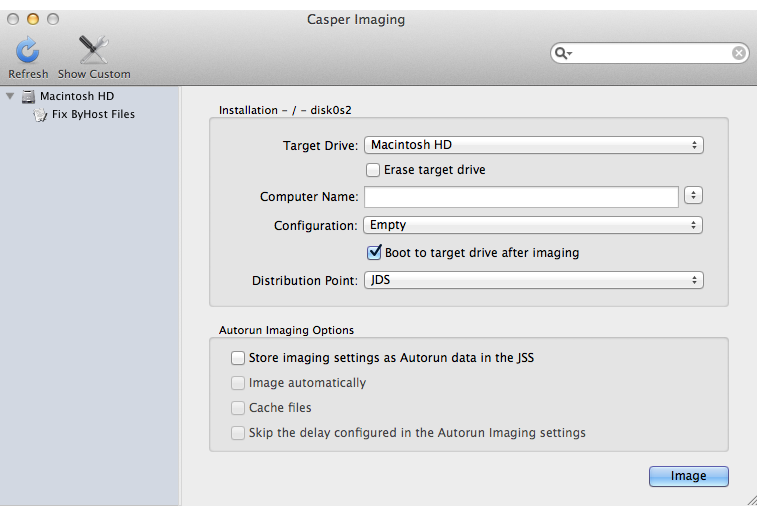
Step 3: Image Computers
-
On a target computer, boot to a startup disk other than the target drive.
-
Open Casper Imaging and authenticate locally.
-
Authenticate to the JSS when prompted.
-
Choose the drive to image from the Target Drive pop-up menu.
-
Select the Erase target drive checkbox.
-
Assign a name to the computer by entering a name in the Computer Name field.
-
From the Configuration pop-up menu, choose the configuration you created in “Step 1: Preparing to Image a Main Partition”.
-
Select the Boot to target drive after imaging checkbox.
-
Choose a distribution point from the Distribution Point pop-up menu.
-
Click Image.
-
Repeat as needed for other target computers.