Import and Configure Classes for Apple's Classroom App
You can use an assistant in the JSS to import classes from Apple School Manager and configure them in the JSS to use with Apple's Classroom app. This automatically creates classes in the JSS and populates the display name of the class, Students payload, and Teachers payload with the information imported to the JSS.
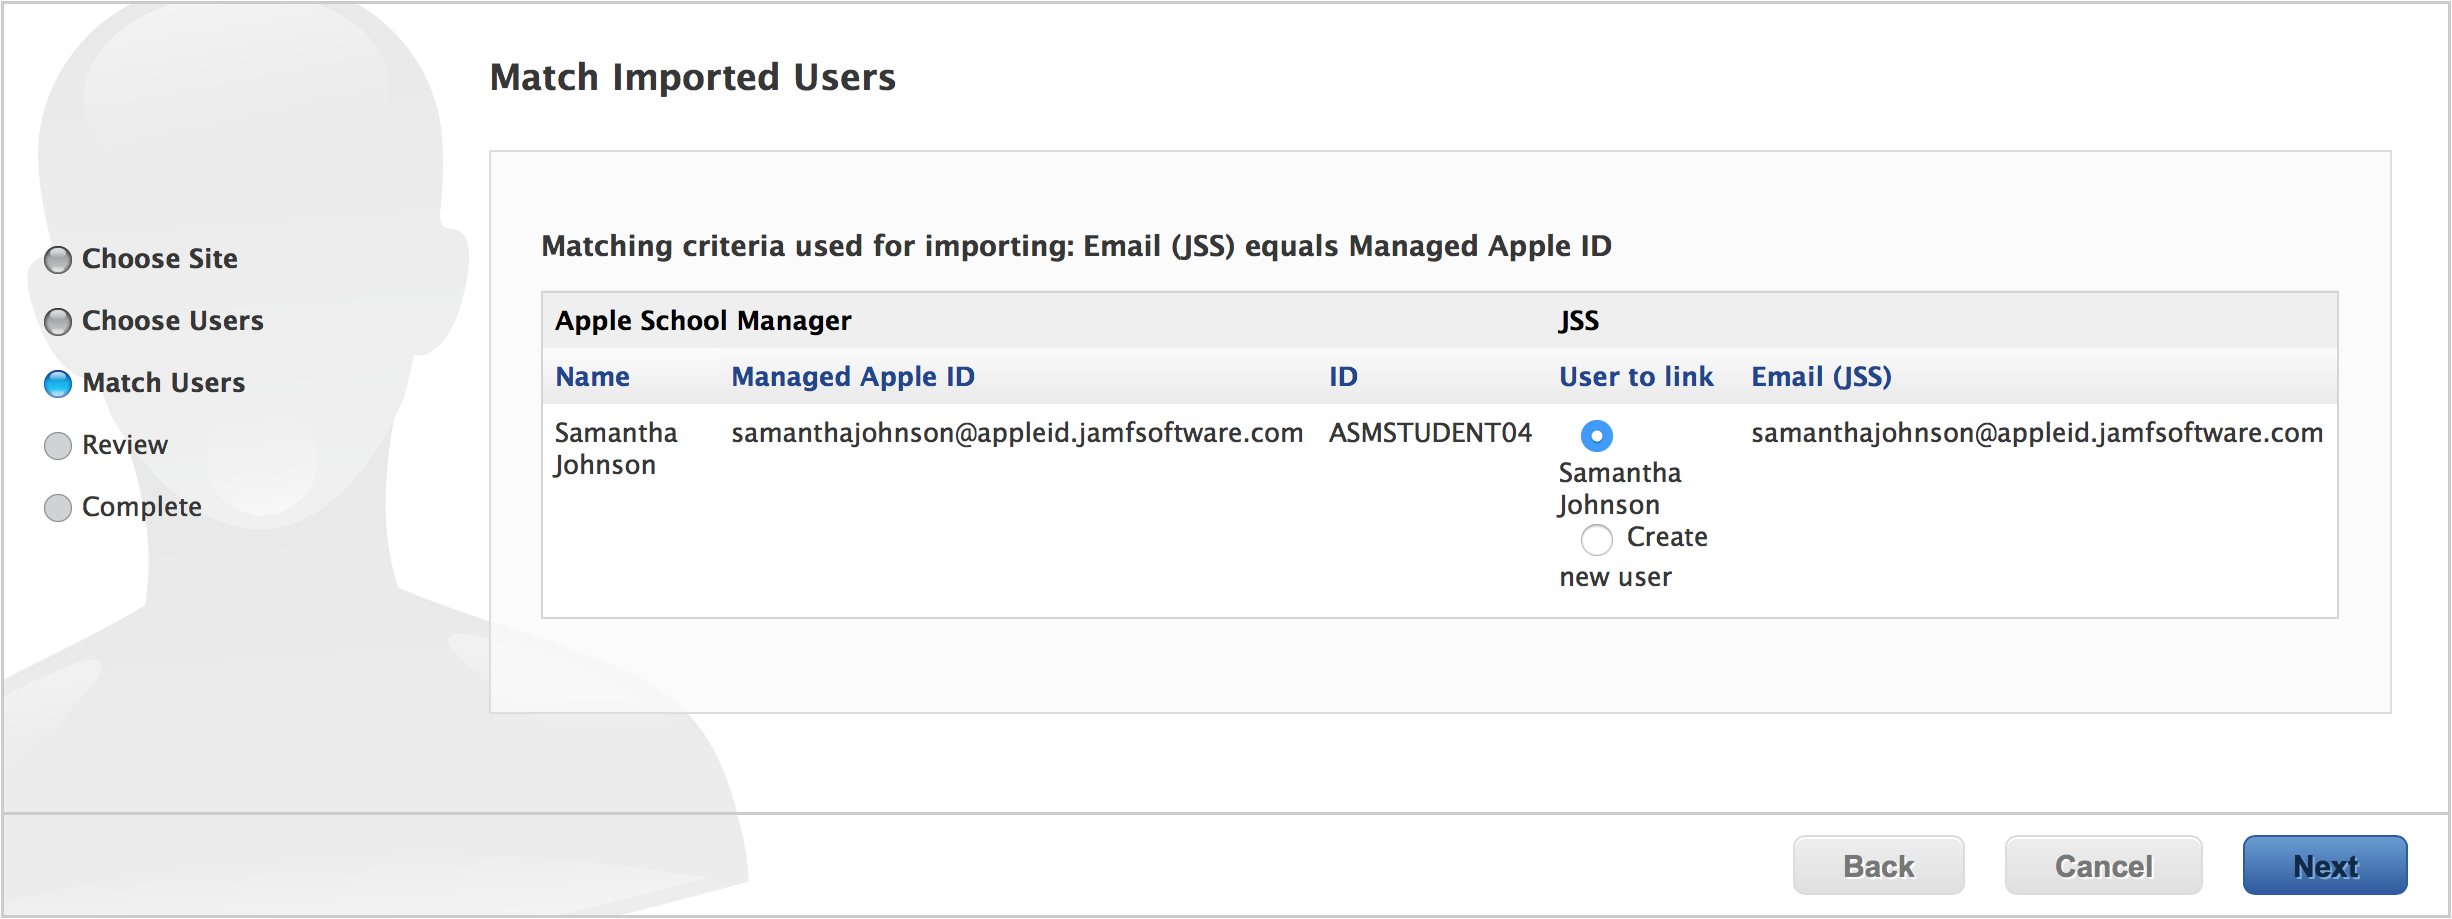
When you import a class, you also import the students and teachers associated with the class. This allows you to automatically create new users in the JSS from the students and teachers in Apple School Manager or append information to existing users in the JSS.
You can select from the following options when importing students and teachers from Apple School Manager:
-
Match to an existing user in the JSS—Imported users are matched to existing users in the JSS based on the criteria selected when integrating the JSS with Apple School Manager. (For more information, see Integrate with Apple School Manager.) The JSS displays potential existing users in the JSS that match the specified criteria. When you select an existing user in the JSS to match the imported user to, the following information is populated in the Roster category of the user's inventory information:
-
Full name from Roster
-
Managed Apple ID
-
Passcode requirement
-
If this information existed in the JSS prior to matching the imported user with the existing user, the information is updated.
-
Create a new user in the JSS—If you choose to create a new user, the imported user is automatically added to the JSS in the Users tab and inventory information is entered in the Roster category for the user.

After a class is imported, if a sync time is configured for the Apple School Manager instance, class information is updated automatically based on the scheduled frequency and time. (For more information about configuring the Apple School Manager Sync Time, see Integrate with Apple School Manager.)
Note: If a student or teacher is added to a class in Apple School Manager after the class has been imported, the user is imported to the JSS and matched with existing users at the configured sync time based on the criteria for matching imported users from Apple School Manager. If there is no match, the imported user is added to the JSS as a new user in the Users tab. (For more information, see Matching Criteria for Importing Users from Apple School Manager.)
Requirements
To configure a class in the JSS by importing class information from Apple School Manager, you need the following:
-
The JSS v9.92 or later
-
Supervised iPads with iOS 9.3 or later
-
The JSS integrated with Apple School Manager. (For more information, see Integrate with Apple School Manager.)
-
Apple Education Support enabled in the JSS. (For more information, see Enable Apple Education Support.)
-
A JSS user account with the "Users" and "Classes" privileges
-
Teachers assigned to iPads in the JSS. (For more information, see the User Assignments section in the Casper Suite Administrator’s Guide.)
In addition, you must ensure that teacher and student iPads meet the minimum device requirements for use with Apple’s Classroom app. For more information, see Classroom Requirements in Apple’s Classroom Help documentation.
Note : To distribute App Store apps and apply app usage restrictions to Shared iPad in a class, device-assignable apps must be added to the JSS and distributed to iPads using device-based VPP assignments. For more information, see VPP Managed Distribution for Mobile Devices and App Store Apps in the Casper Suite Administrator’s Guide .